Blog - Home improvement
Last year my wife and I bought a flat in Rotterdam. The flat was a model apartment, so we were lucky we didn't have to do any repairs whatsoever before we moved in. And although we enjoy our flat a lot, there's always room for improvement: home improvement!
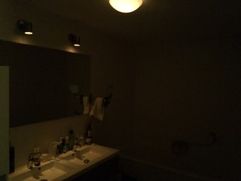
Our flat in Rotterdam didn't have a single dimmer, but even worse: the bathroom had no sockets. Not one… So in order to be able to use the hair dryer or charge our electric toothbrush I had connected a stand-alone socket to one of the lamps, so we at least had power when the light was switched on.
When I had decided to install a dimmer in the bathroom a problem occurred to me: if the dimmer changes the voltage for the lamp, it also changes the voltage for the socket. Not good… So either we could only use the socket with the light fully on (and thus have 230V on the socket), or I'd have to pull extra wires through the wall to supply another live wire (brown)… But lo and behold, when I took apart the light and wiring:

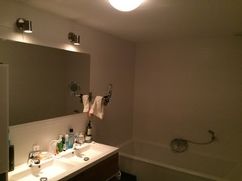
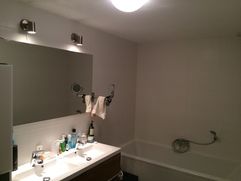
A separate live wire was already there! :) Hooking up the dimmer wasn't much extra work, et voilà:
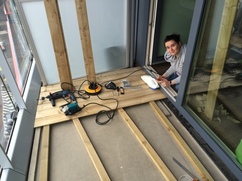
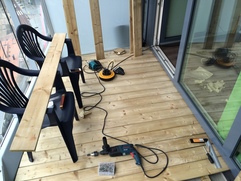
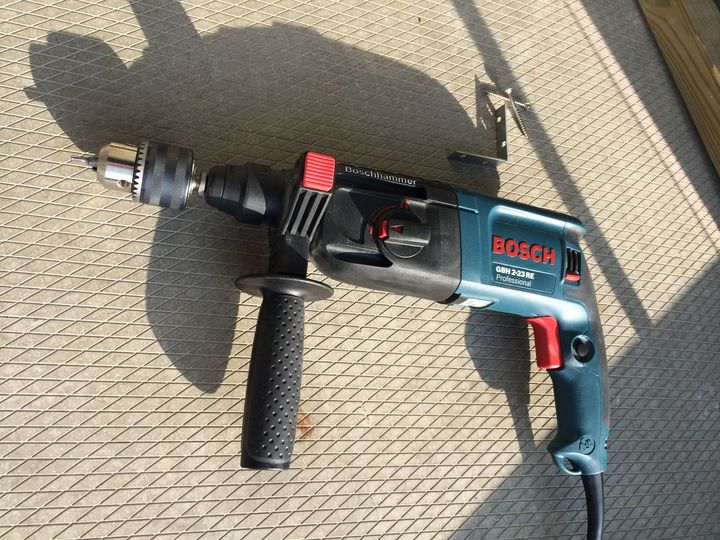
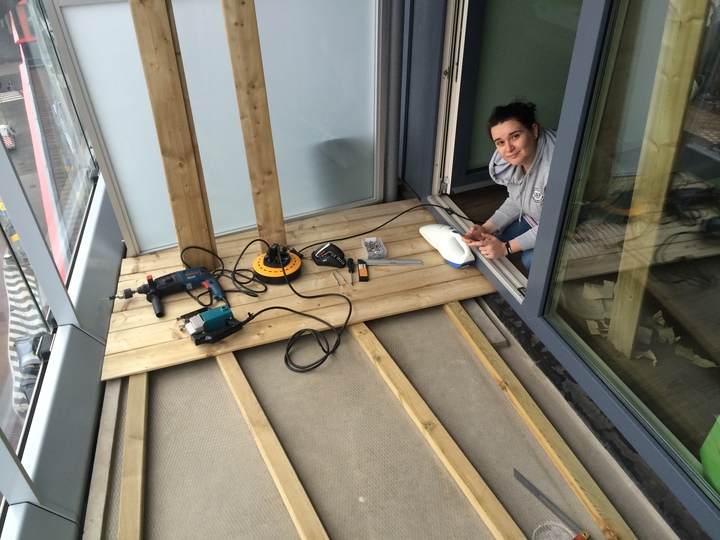
First up we had to put down a frame of wooden beams to create a straight surface on which to put the planks. Our electric screw driver broke under the load of forcing the screws into the wood, so I opted for our somewhat more powerful hammer drill :) As you can also see on the pictures below, our balcony has a very unusual shape: there are no 90° angles. Therefore every plank had to be cut at a specific angle and different length.

Thankfully at the hardware store I got plenty of good advice on how to:

All this provided a nice challenge, together with making sure the convex side of the planks were up, and the planks themselves spaced apart just millimeters to create a drain. After applying a few layers of wood stain to keep the wood from warping, we were done! :)
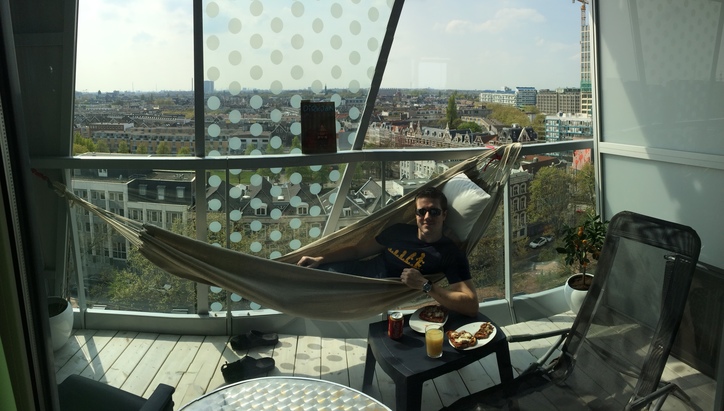
The absence of 90° angles gives our balcony a very unusual look, and it comes with one more really cool feature: our hammock fits perfectly in one of the nooks! Together with our new boardwalk it creates that perfect summer feeling :)
Bathroom: dimmer and socket
When we had repairs in Prague, we decided to install dimmers everywhere: they're a great and easy way to create exactly the amount of light needed for e.g. a romantic evening at home :)Our flat in Rotterdam didn't have a single dimmer, but even worse: the bathroom had no sockets. Not one… So in order to be able to use the hair dryer or charge our electric toothbrush I had connected a stand-alone socket to one of the lamps, so we at least had power when the light was switched on.
When I had decided to install a dimmer in the bathroom a problem occurred to me: if the dimmer changes the voltage for the lamp, it also changes the voltage for the socket. Not good… So either we could only use the socket with the light fully on (and thus have 230V on the socket), or I'd have to pull extra wires through the wall to supply another live wire (brown)… But lo and behold, when I took apart the light and wiring:
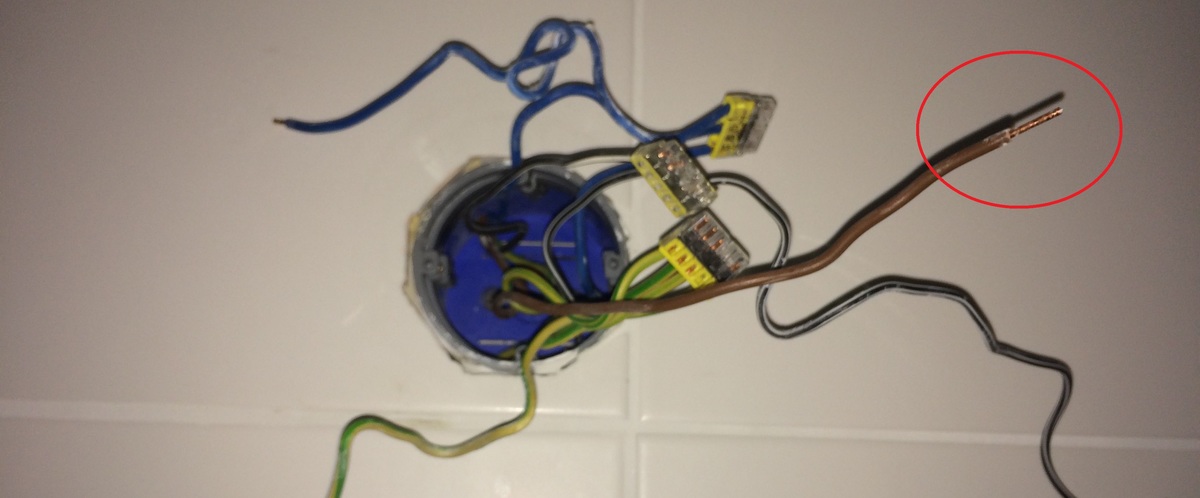
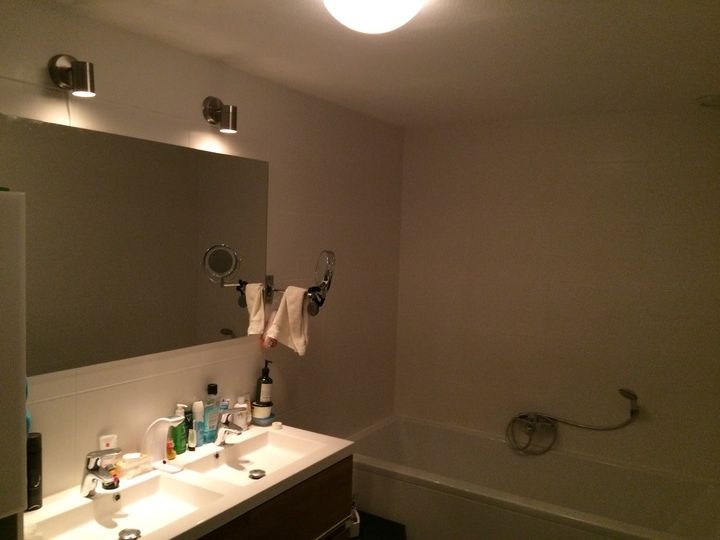
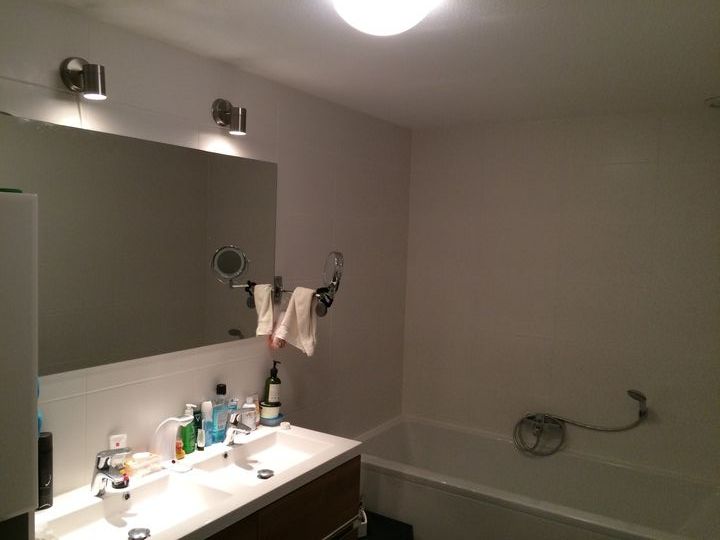
A separate live wire was already there! :) Hooking up the dimmer wasn't much extra work, et voilà:
Balcony: boardwalk and hammock
Next up was our balcony, which had some annoying ridges, a wide gutter with a slope, and other obstacles which made it cumbersome to put anything on. That's when my wife came up with the idea of putting down a boardwalk, which she had loved ever since our visit to Plitvice lakes.First up we had to put down a frame of wooden beams to create a straight surface on which to put the planks. Our electric screw driver broke under the load of forcing the screws into the wood, so I opted for our somewhat more powerful hammer drill :) As you can also see on the pictures below, our balcony has a very unusual shape: there are no 90° angles. Therefore every plank had to be cut at a specific angle and different length.

Thankfully at the hardware store I got plenty of good advice on how to:
- pick the right kind of wood;
- measure and cut the planks using a sliding T bevel: you simply measure the angle you need, and draw it on the plank;
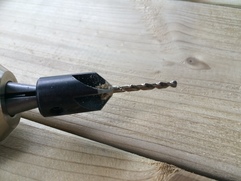
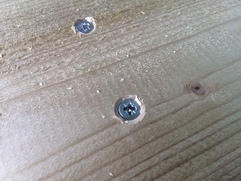
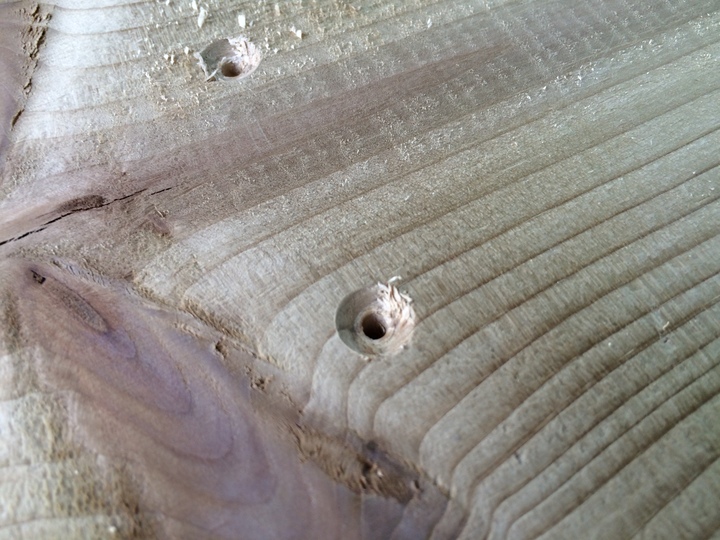
- use a countersink cutter to create a countersink, in which the screws used to connect the planks sit. That way we won't step on any nasty screws sticking out.


All this provided a nice challenge, together with making sure the convex side of the planks were up, and the planks themselves spaced apart just millimeters to create a drain. After applying a few layers of wood stain to keep the wood from warping, we were done! :)
The absence of 90° angles gives our balcony a very unusual look, and it comes with one more really cool feature: our hammock fits perfectly in one of the nooks! Together with our new boardwalk it creates that perfect summer feeling :)
